A dark backyard in the Denver Metro Area feels small and unusable once the sun sets over the Rockies. Expert outdoor living lighting design changes how you see and use your property after dark. It makes your patio feel safe and welcoming.
Schedule an outdoor living consultation with Faros Construction Services.
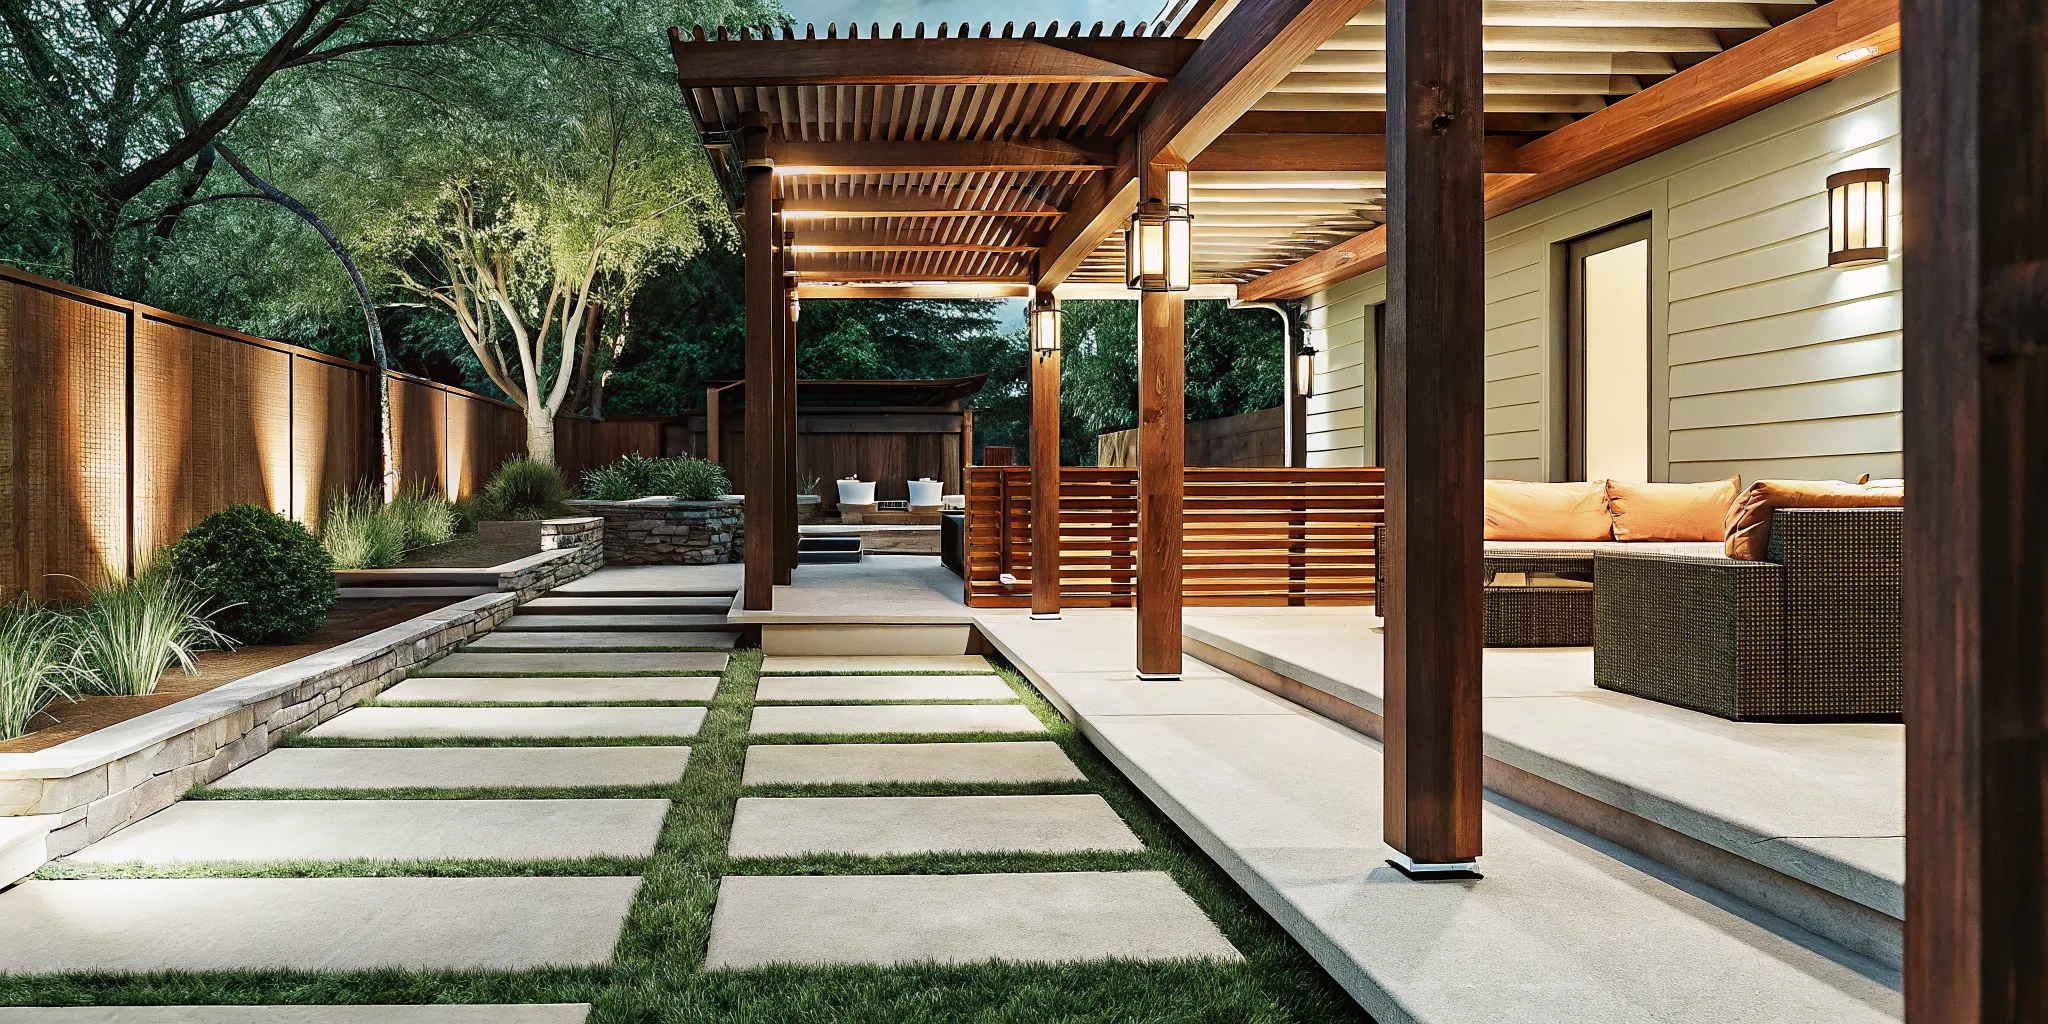
Outdoor living lighting design combines ambient, task, accent, and path lighting to make a backyard safer and more inviting after sunset. A balanced plan prioritizes steps and walkways, supports cooking and gathering areas, highlights a few landscape features, and keeps glare away from windows and seating.
Creating a plan for your home starts with looking at your daily habits and needs. You can Build outdoor living lighting design around how you use the yard to make sure every light has a clear and useful goal. The first step begins as you
Build outdoor living lighting design around how you use the yard
The best outdoor living lighting design starts with a plan for your space. Instead of picking lamps first, think about how you use your yard in the Denver Metro Area. You should map out your zones for cooking, eating, and relaxing. Good lighting makes these spots safe and easy to use after the sun goes down.
Map out your activity zones
Start by finding the main spots where people gather. Your deck or patio needs bright light for meals but soft light for sitting. If you have an outdoor living space, you may want task lights near the grill. These lights help you see while you cook without blinding your guests.
Think about how you move from one spot to the next. Walkways and stairs need clear light to keep people safe. You do not need to light every inch of the grass. Focus on the paths you use most often to save energy and reduce glare.
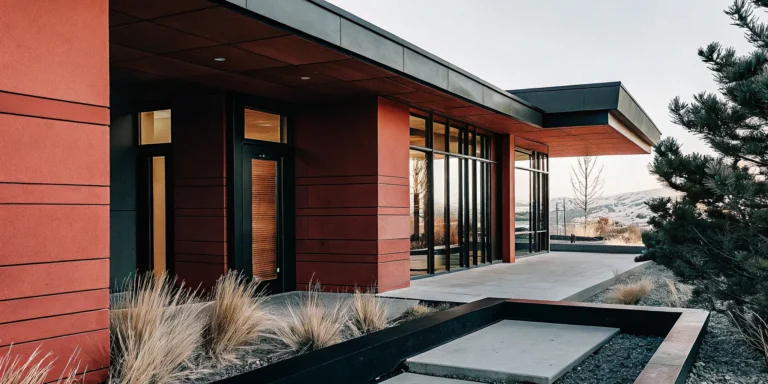
Check sightlines from inside the home
Your yard should look good from inside your house too. When you plan your lights, look through your windows at night. Avoid placing bright bulbs where they will shine right into your eyes. Soft lights on trees or walls can create a nice view without being too bold.
The U.S. Department of Energy notes that well-planned lights improve both safety and look. Using a mix of light levels helps your yard feel deep and wide. This makes your home feel larger and more open even when you are indoors.
Plan for future yard changes
Your lighting needs may change as you add new features. You might start with a simple deck but add a pergola or fire pit later. It is smart to use a system that is easy to grow. Choosing high-quality custom decks with built-in wiring helps you add more lights down the road.
Try to keep your design flexible. Use zones that you can turn on or off by themselves. This lets you set the right mood for a big party or a quiet night alone. A smart plan now will save you time and work when you want to update your yard later.
Layer light for comfort, function, and depth
A layered plan combines ambient, task, and accent lighting so each fixture has a clear role. Faros Construction Services recommends starting with safety and useful light, then adding selective highlights that create depth without glare.
Good outdoor lighting design needs a mix of light types. You should not just stick one bright light on the back of your house. That makes harsh glares and deep shadows that make a yard feel small. To make your space in the Denver area feel like a real room, you need to layer your light. Most pros use three main types of light to build a full plan. These are ambient, task, and accent lights. Each one plays a part in how you use and see your yard at night.
Set the mood with ambient light
Ambient light is the first layer. It gives your yard a soft glow so you can see where you are going. This light mimics the feel of a moonlit night. It should not be too bright or point right at your eyes. Instead, you want light that bounces off walls or comes from high up in trees. This layer sets the tone for the whole space. It makes the deck or patio feel open and safe for guests to walk around.
Improve safety with task light
Task light is all about use. You need it for spots where you do things like cook on a grill or walk down a set of stairs. Good outdoor living lighting design puts this light right where it is needed most. For path lights, pros often space them 8 to 12 feet apart to keep the walk clear but not too bright. This layer keeps you from tripping and helps you work in your outdoor kitchen. If you have decks or porches, task light is a must. You can find more tips on safe home light from the U.S. Department of Energy which says to use LEDs for long life.
Create depth with accent light
The last layer is accent light. This type of light points out the best parts of your yard. You might use it to show off a large oak tree or a stone wall. By placing lights 2 to 5 feet from the base of a tree, you can create long shadows and bright spots that add depth. This makes your yard look big and full of life even after the sun goes down. Without this layer, the back of your yard might look like a dark wall at night.
In the Denver area, you need lights that work well in all types of weather. Snow and wind can be hard on cheap solar lights. This is why many people in Colorado choose low voltage LED systems. They work great in the cold and keep your yard bright all year. Plus, you can hide the wires in the ground or under your hardscape so the yard looks clean during the day.
When you use all three layers, your yard feels more like a home. You can switch them on in groups to change the feel of the night. For a quiet dinner, you might just use soft ambient light. For a big party, you might turn on every layer to show off the whole space. This plan makes sure your yard is both useful and fun to look at.
| Feature | Solar Fixtures | Low Voltage LED |
|---|---|---|
| Brightness | Dim glow | Strong light |
| Works Well | Depends on sun | Always works |
| Lifespan | Short (1-2 years) | Long (10-20 years) |
| Denver Winter | Weak in snow | Great in cold |
| Upkeep | High (needs sun) | Low (set and forget) |
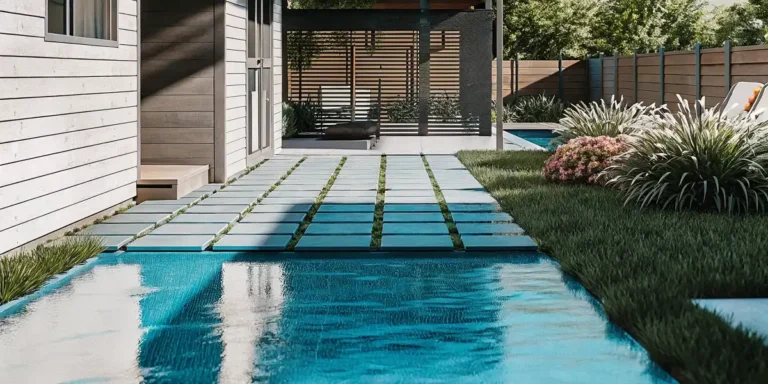
Where should lights go on patios, decks, and walkways?
Good lighting makes your outdoor areas safer and more useful after dark. It also helps set a nice mood for late nights on the lawn. When you plan your outdoor living lighting design, you must think about where people walk and sit. Proper placement makes sure that light reaches every spot without being too bright. You want to avoid dark gaps that could lead to trips or falls. At the same time, you must keep the light soft enough to enjoy the stars.
Lighting paths and steps
Safety is the first goal when lighting a walkway. Most people place path lights about eight to twelve feet apart. This spacing creates a soft pool of light that leads the way without a “runway” look. You should place the lights close to the edge of the concrete walkways to show the path clearly. This helps guests see where the ground changes. It also shows off any turns or curves in your yard. Aim the lights down to keep the beam on the walking surface.
Steps are the most vital part of path lighting. You should place a light at every change in height. Small lights tucked under the lip of each step work very well. They light the top of the stair without shining in your eyes. This keeps the stairs safe for kids and guests who visit at night. You can also use small lights on the sides of the steps. The key is to make sure each step is clear to see from top to bottom.
Placing lights on decks and patios
Decks and patios need a mix of light for safety and fun. For a custom deck, you can add lights to the posts or the railings. Post cap lights are a great way to mark the corners of your space. They give off a soft glow that defines the area. Railing lights shine down onto the floor of the deck. This helps people see where they are walking without a lot of glare. It also makes the space feel more closed in and cozy for evening meals.
Patios often have walls or built-in seats that can hold lights. You can tuck “hardscape” lights under the ledge of a stone wall. These lights shine down and show the texture of the stone. They also light the floor near the wall. This is a smart way to add light without seeing the fixture itself. Aim to place these lights every six to eight feet along the wall. This gives a steady light that is easy on the eyes. It helps the whole patio feel warm and friendly.
Making focal spots with landscape lights
Beyond paths and decks, you should light the trees and plants around you. This adds depth to your yard and makes it look bigger at night. You can place uplights about two to five feet from the base of a large tree. These lights shine up into the leaves and show off the shape of the trunk. This creates a bold spot that draws the eye. It also adds “backlight” to your outdoor space, which makes the area feel more full.
When you add these lights, you must think about the sky and your neighbors. The National Park Service suggests that you shield your outdoor lights to keep the beam aimed down. This stops light from spilling into the sky or into other yards. It also stops glare that can make it hard to see. Using warm white LEDs with a low color temperature will keep the light soft. This helps your outdoor living space feel like a part of the natural world.
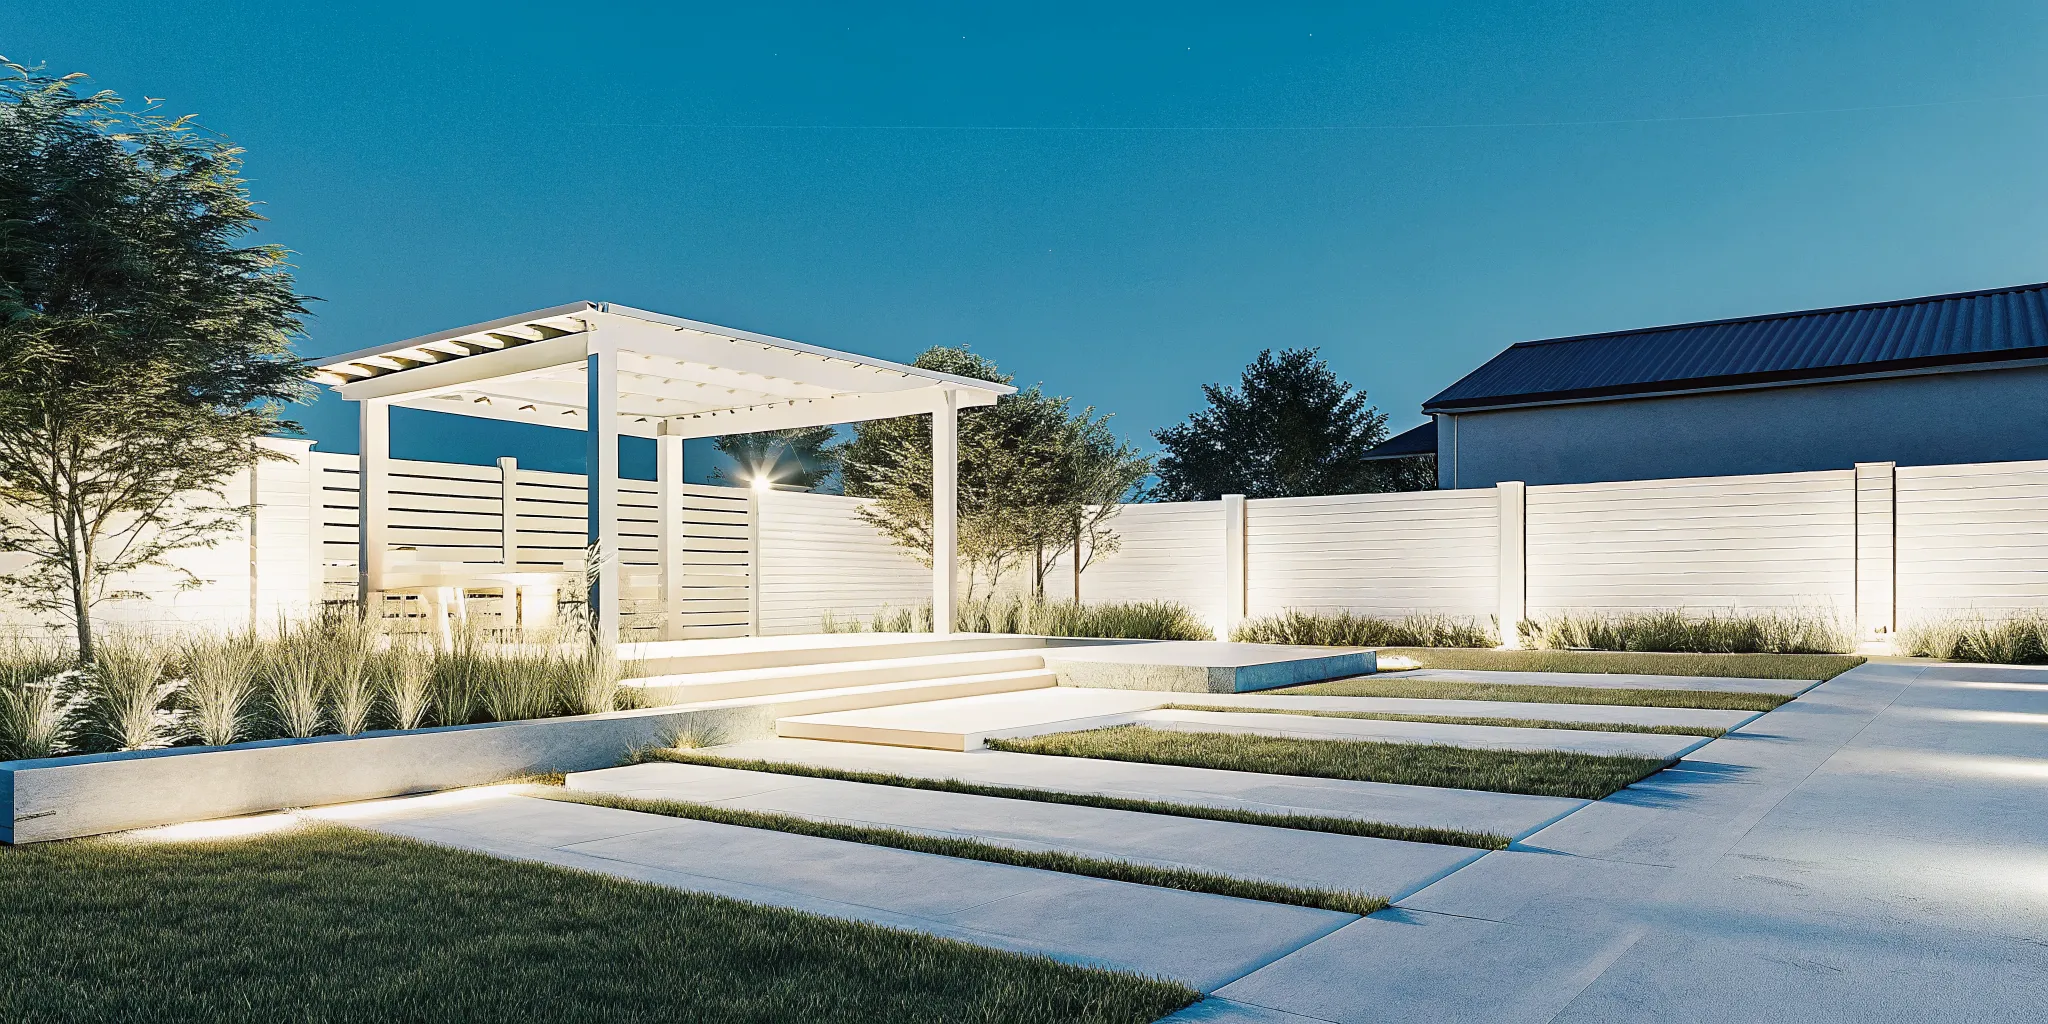
Create inviting pergolas and gathering areas
Comfortable gathering areas use soft, shielded light that helps people see faces and surfaces without exposing bright bulbs. The right placement makes pergolas, dining tables, and lounge seating feel connected rather than flat.
Talk with Faros Construction Services about a deck or pergola designed with integrated lighting.
Light faces, not just surfaces
A gathering area feels welcoming when people can see each other without squinting. Place soft, shielded light near the edges of a pergola or seating zone. This creates a gentle pool of light while keeping bright bulbs out of direct sight.
A single bright fixture in the center often makes the space feel flat. It can also cast deep shadows across faces and tabletops. Several lower-output fixtures spread through the area create a calmer setting and make the full space easier to use.
Match light to each activity
A dining table needs clear task light, while lounge seating benefits from softer ambient light. An outdoor kitchen or grill area needs focused light on work surfaces. Keep that task light aimed down so it does not wash across nearby seating.
Pergola posts, beams, and roof lines offer natural places to conceal wiring and mount fixtures. Planning the lighting while the structure is being designed produces a cleaner result. It also helps switches, controls, and service points stay easy to reach.
Use controls to change the mood
Dimmers and separate lighting zones let the same backyard support dinner, conversation, and late-night relaxation. Put task lights, overhead lights, and landscape accents on separate controls. Then you can turn on only the light needed for the moment.
Warm, consistent light helps patios and pergolas feel connected. Avoid mixing stark white fixtures with warm decorative lights in the same view. A coordinated plan gives your outdoor living space a polished look after sunset.
Plan lighting for Denver Metro Area conditions
Denver Metro Area lighting systems need weather-resistant fixtures, protected wiring, thoughtful drainage, and accessible controls. Planning these details with the surrounding hardscape and structures helps the full outdoor space perform reliably through changing seasons.
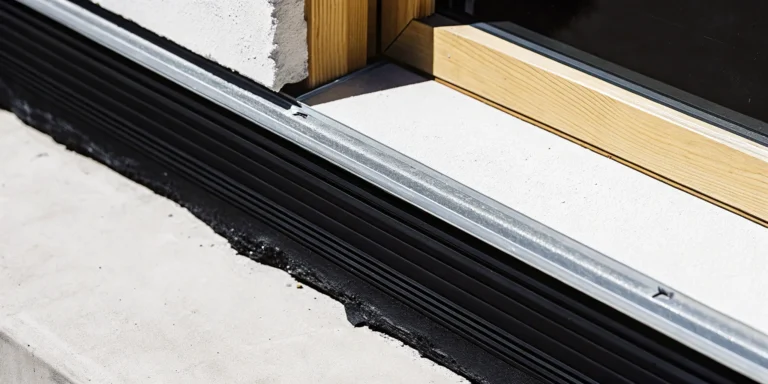
Manage the freeze-thaw cycle
Denver weather can be very tough on outdoor lights. The ground moves often due to the freeze-thaw cycle. In the Denver Metro Area, water in the soil turns to ice and expands. This force can shift light stakes or pull on wires. When you plan your outdoor living lighting design, you must account for this movement. Use deep trenches to keep wires safe from the shifting earth. Adding a layer of sand or fine gravel can also help the wires move without snapping.
As water freezes, it pushes against any buried parts of your lighting system. This can lead to loose lights or broken seals. To prevent this, make sure your lights are set firmly in the ground. You might use concrete bases for larger posts. This keeps them straight even when the soil is soft. It is also wise to check your lights each spring. This lets you find any parts that moved during the cold months.
Pick strong parts for the yard
The sun in the Denver Metro Area is very strong. High altitude means more UV rays hit your yard every day. These rays can break down plastic and thin metal very fast. For a long-lasting look, choose brass or copper parts. These metals are heavy and do not rust or peel. They also get a nice look as they age in the mountain air. The CSU Extension provides many tips for picking yard items that last in our dry climate. Good choices for your system include:
- Brass and copper metals
- Hardy glass lenses
- Weather-proof power boxes
- Thick wire casings
Avoiding cheap parts will save you time and stress later.
Prepare for snow and moisture
Heavy snow is common in Denver. When you place your lights, think about where the snow will pile up. Do not put path lights in areas where you shovel or blow snow. The weight of the snow can bend or break the stems. It is also good to use taller lights in some spots. This keeps the light above the snow line so it can still shine. If lights stay under wet snow too long, water can get inside. Use lights with top-grade seals to keep the inner parts dry.
Drainage is another key part of a good plan. When snow melts, the water must flow away from your power parts. If water pools around a light, it can cause a short. Make sure the ground slopes away from your main power box. You should also talk to a pro about your plan. They can help you pick the best spots for each light. Working with a pro is the best way to avoid issues. They know how to lay out wires to avoid the worst of the snow and ice. This planning between the light design and the yard work makes for a better result. You can enjoy your outdoor space without worrying about the next big storm.
How do you plan a balanced backyard lighting layout?
A strong plan starts with the yard itself, not a fixture catalog. Walk through the space after dark and note where movement feels uncertain, where people gather, and which views deserve attention.
- Map the activity zones. Mark patios, decks, paths, stairs, doors, cooking areas, and quiet seating. Note how people move between them.
- Set safety priorities. Give stairs, grade changes, gates, and main paths clear light first. Use shielded fixtures that reveal edges without shining into people’s eyes.
- Choose the focal points. Select a few trees, stone features, pergola beams, or planting beds to highlight. Lighting every feature weakens the effect.
- Add task light. Place direct light where people cook, dine, unlock doors, or handle gear. Aim it at the work surface rather than across the yard.
- Connect the layers. Review ambient, task, accent, and path lighting from several viewpoints. Check the view from inside the home as well as from the patio.
- Plan the controls. Group fixtures by purpose so safety lights, gathering lights, and accents can work on separate schedules or dimmers.
- Test and aim after dark. Make final adjustments at night. Tilt fixtures, reduce glare, and remove any light that does not improve safety, comfort, or the view.
Leave room for the landscape to change
Plants grow, seating moves, and outdoor routines shift over time. Keep key fixtures accessible for aiming and upkeep. A flexible layout can adapt without disrupting finished patios, decks, or planting beds.
Coordinate lighting with the larger outdoor plan before construction begins. Conduit routes, mounting points, and control locations are easier to integrate before hardscape and structures are complete.
Avoid common outdoor lighting design mistakes
The most common mistakes are overlighting, visible glare, inconsistent color, and forgotten controls. A restrained design gives every fixture a purpose and leaves enough shadow for the backyard to feel calm and dimensional.
Request a coordinated outdoor living plan from Faros Construction Services.
Do not overlight the yard
More light does not always improve a backyard. Too many bright fixtures erase contrast, create glare, and make the space feel less restful. Start with safety and task needs, then add only a few accents to create depth.
Shield bulbs and aim beams away from windows and seating. From each common viewpoint, the effect of the light should stand out more than the fixture itself.
Keep color and fixture style consistent
A mix of harsh white and warm light can make a connected space feel disjointed. Choose a consistent visual tone for fixtures seen together. Decorative fixtures can vary in form, but their finishes and light quality should relate to nearby structures.
Avoid placing path lights in a rigid runway pattern. Offset them where practical and use light only where it helps reveal the route. This creates a more natural rhythm while preserving safe movement.
Plan for controls and upkeep
One switch for the entire yard limits how the space can be used. Separate safety, task, and accent zones so each can run when needed. Timers and smart controls can support a simple daily routine without leaving every fixture on.
Keep fixtures, wiring connections, and controls accessible. Snow, plant growth, and normal yard work can change how a beam performs. Easy access lets the system be cleaned, aimed, and adjusted as the outdoor space matures.
Frequently asked questions about outdoor living lighting design
What are the main layers of outdoor lighting?
Ambient light sets a soft overall glow, task light supports activities such as cooking and dining, and accent light highlights selected features. Path and step lights add a focused safety layer. A balanced plan uses each type for a clear purpose.
How can outdoor lighting reduce glare?
Use shielded fixtures, keep bright bulbs out of direct sight, and aim beams at surfaces rather than toward people. Lower-output fixtures placed with care usually feel more comfortable than one bright source.
Where should deck and patio lights be placed?
Light stairs, edges, doors, work areas, and the routes people use most. Add soft ambient light near seating, then highlight only a few nearby features. Review the layout after dark from both inside and outside the home.
Should outdoor lighting be planned before construction?
Yes. Early planning makes it easier to conceal conduit, integrate mounting points, and place controls where they are useful. It also helps lighting work as one part of the patio, deck, pergola, and landscape design.
Plan a backyard that works after sunset
Faros Construction Services can help connect lighting ideas with a complete outdoor living plan built for the Denver Metro Area. Thoughtful coordination supports safer movement, comfortable gathering areas, and a polished view after dark. Call (720) 594-5604 to schedule an outdoor living consultation.