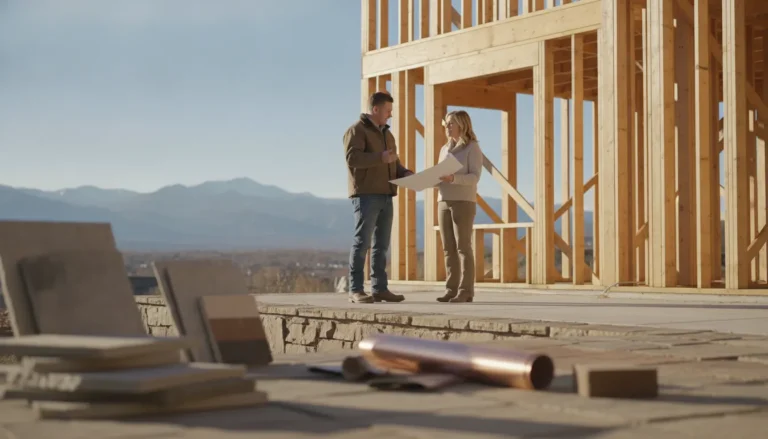

Planning an LVP Install for a Denver Metro Area home involves more than choosing a plank color. The finished floor depends on a sound subfloor, appropriate acclimation, a deliberate layout, carefully planned transitions, and moisture conditions that are understood before installation begins. A thoughtful plan helps luxury vinyl plank look consistent from room to room and perform as intended through seasonal changes.
Contact Faros to plan your Denver Metro home remodeling project.
Luxury vinyl plank can create a clean, durable surface for many remodeling applications, but it is not a way to hide an uneven or damp substrate. Manufacturer instructions always control product-specific requirements, including expansion clearances, underlayment, adhesive, moisture limits, and installation method. Use this guide to organize the project conversation and identify the details that need to be resolved before materials arrive.
What Should a Denver Metro LVP Install Include?
A well-planned Denver Metro LVP Install includes an assessment of the existing floor, subfloor preparation, product acclimation, room-by-room layout planning, moisture review, installation, transitions, trim, and a final inspection. Treating these steps as one connected process reduces visible defects and helps the finished floor fit the home rather than looking like a last-minute surface replacement.
The planning process should begin with the rooms included in the remodel, the current floor assembly, door swings, cabinets, stairs, baseboards, and the locations where LVP will meet another floor covering. The project team can then determine what needs to be removed, repaired, protected, or adjusted before installation. This is especially important when an open-concept remodel will visually connect several spaces.
- Document each room, doorway, closet, stair edge, and floor-height change.
- Identify whether the substrate is wood, concrete, or an existing approved flooring surface.
- Check for movement, uneven areas, damaged panels, loose fasteners, and visible moisture concerns.
- Confirm the product’s installation method and requirements before finalizing the layout.
- Plan trim, transitions, appliances, cabinetry, and door clearances as part of the floor design.
Faros Construction Services approaches home remodeling as a coordinated construction project. Its home remodeling and building services can help homeowners connect floor updates with the broader room plan, rather than treating the flooring as an isolated task.
How Should the Subfloor Be Prepared for LVP?
The subfloor should be clean, dry, structurally sound, and within the flatness tolerance specified by the LVP manufacturer. Preparation may include removing debris, securing loose areas, correcting high and low spots, addressing damaged sections, and confirming that the surface will support tight plank joints without telegraphing imperfections through the finished floor.
Start by inspecting the existing assembly instead of assuming that a visually acceptable surface is ready. Small ridges, dips, fastener heads, and remnants of old flooring can affect the way planks lock together. A wood subfloor may require repair of squeaks or movement, while a concrete substrate may need patching, leveling, cleaning, and moisture testing. The appropriate repair method depends on the substrate and the selected product.
Wood subfloors
Wood substrates need to be stable and securely fastened. Look for flexing, damaged panels, raised fasteners, and areas affected by past leaks. The surface should be swept and vacuumed carefully after repairs. Avoid using a leveling product or underlayment that is not approved for the selected LVP system.
Concrete subfloors
Concrete should be evaluated for flatness, cracks, curing history, and moisture. A slab can appear dry while still transmitting moisture vapor into the flooring assembly. Testing should follow the flooring manufacturer’s method, and any moisture-related condition should be addressed before planks are installed. The U.S. Environmental Protection Agency explains how moisture supports mold growth, which is one reason moisture should be treated as a project condition rather than a cosmetic detail.
Existing flooring
Some LVP products can be installed over an existing, well-adhered surface, while others require removal. The decision depends on the product instructions, the condition of the old floor, the total floor height, and the condition of the substrate below it. Removing old materials can reveal repairs that were not visible beforehand, so allow the plan to adapt after the floor is opened.
Why Does LVP Need Time to Acclimate?
LVP needs to reach the room’s installation conditions before it is laid, because temperature and humidity can influence the dimensions and behavior of flooring materials. Follow the product instructions for the required time, temperature range, humidity range, box placement, and whether cartons should remain stacked or be spread out. Do not substitute a generic acclimation rule for the manufacturer’s guidance.
For a Denver Metro remodel, acclimation should be part of the schedule before installation day. Bring the product into the conditioned installation area only after the space is ready to protect the planks from dust, wet work, and major temperature swings. If the home is still undergoing drywall, painting, or other work that changes the room environment, the project team should confirm that the space is suitable for flooring.
Keep cartons protected from direct moisture and avoid storing them where they could be exposed to rain, snow, or an unconditioned garage. Marking cartons by room can also help the installer maintain a consistent visual mix. If the product has a directional grain or repeating pattern, blending planks from several cartons can produce a more natural appearance.
How Do You Plan the LVP Layout?
Plan the LVP layout before locking the first row. The layout should account for the longest sightlines, the direction of natural light, room proportions, plank length, end-joint spacing, closets, hallways, and the width of the final row. A dry layout or measured drawing can reveal narrow slivers and awkward joints while there is still time to adjust the starting point.
Many homeowners prefer planks to run along the longest dimension of a room or through a connected hallway, but there is no universal direction for every floor plan. The best direction depends on the home’s architecture and how spaces relate to one another. At doorways, keep the transition strategy in mind so the flooring direction and height change appear intentional.
- Measure every room, not just the largest space.
- Locate the centerline or preferred visual axis for connected areas.
- Plan where end joints will fall near doorways, cabinets, and high-traffic paths.
- Maintain the manufacturer’s required stagger between nearby end joints.
- Avoid a narrow final strip when a small adjustment to the starting row can create better balance.
- Plan cuts around door jambs so the finished floor can slide beneath the trim cleanly.
Do not force a single uninterrupted pattern through spaces where the product instructions or floor movement require a break. A clean transition is usually better than a strained layout that creates tight joints or leaves an unplanned narrow piece at the edge.
What Moisture Details Matter in a Denver Home?
Moisture planning for an LVP Install includes the subfloor, exterior walls, plumbing areas, entry points, and rooms where temperature and humidity may vary. Before installation, identify any history of leaks, dampness, condensation, wet concrete, plumbing work, or water intrusion. The flooring should not be used to cover an unresolved moisture source.
Denver Metro homes can experience snow and meltwater at entrances, seasonal humidity changes, and wet conditions around bathrooms, kitchens, laundry areas, and exterior doors. Those conditions do not automatically rule out LVP, but they make detailing and substrate verification important. Use the product’s written requirements for moisture testing, vapor control, underlayment, sealants, and wet-area limitations.
At exterior entries, consider how water will be kept from sitting on the floor or reaching vulnerable edges. At plumbing fixtures, confirm that the finished detail is compatible with the product and the room’s use. Around fireplaces, stairs, and floor registers, plan clearances and finishing components before installation starts. If a condition cannot be verified, pause the installation plan and investigate it.
How Should Transitions and Finish Details Be Handled?
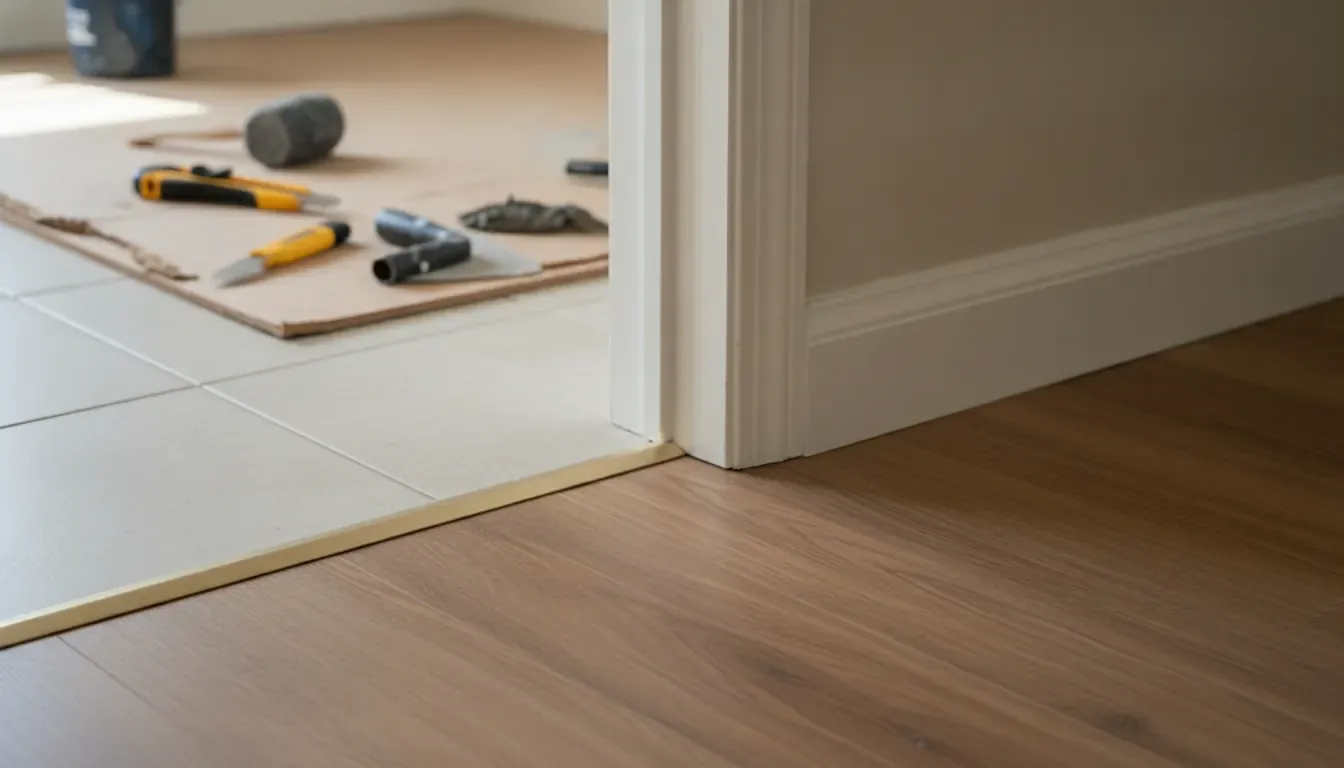
Transitions should be designed before the first plank is installed. The correct solution may be a T-molding, reducer, threshold, stair-nose component, flush transition, or another manufacturer-approved detail. The choice depends on the adjacent floor height, room configuration, movement requirements, and the product system.
Transitions are not only visual accessories. They can protect exposed plank edges, accommodate a change in elevation, and create a planned break where different floor assemblies meet. Avoid improvising with a trim piece that does not match the product instructions or fastening it in a way that restricts a floating floor’s movement.
Baseboards and door casings
Baseboards can cover the perimeter clearance when installed into the wall rather than pinning a floating floor to the substrate. Door casings may need to be undercut so the plank can pass beneath them for a more finished appearance. Coordinate casing cuts with the final floor height, especially where an underlayment or patching layer changes the assembly.
Cabinets and heavy fixtures
Cabinet and appliance details depend on whether the LVP is floating or adhered and on the product manufacturer’s instructions. Heavy permanent elements should not be allowed to restrict a floating floor unless the system specifically permits that condition. Resolve cabinetry, islands, appliances, and floor height before installation to avoid trapping the flooring or creating clearance problems.
Talk with Faros about coordinating flooring details with your Denver Metro remodel.
What Happens During a Professional LVP Install?
A professional LVP Install typically moves from final substrate inspection to layout confirmation, first-row placement, plank installation, cuts, transitions, trim, cleanup, and a final walkthrough. The installer should follow the product instructions at each stage and stop when an unexpected substrate or moisture condition changes the approved plan.
- Protect the work area: Keep completed surfaces, cabinets, walls, and nearby furnishings protected from dust and cutting debris.
- Confirm the starting point: Recheck the layout, expansion clearances, sightlines, and transition locations.
- Install the first rows carefully: The first rows establish the alignment for the rest of the room, so they should be straight, supported, and checked frequently.
- Stagger joints and vary cartons: Maintain the product’s joint-spacing rules while blending boards for a balanced appearance.
- Complete detail cuts: Cut around jambs, corners, registers, posts, and other fixed features without eliminating required clearances.
- Install finishing components: Add approved transitions, baseboards, casing details, and other trim after the field installation is complete.
- Inspect and clean: Check joints, edges, trim, transitions, and the finished surface before the space returns to normal use.
Quality control is easiest when it happens during installation, not only after the last board is down. Check alignment from several viewpoints, inspect joints under natural light, and confirm that doors, appliances, and trim operate correctly with the new finished floor.
Which LVP Install Mistakes Should Denver Homeowners Avoid?
The most common LVP Install mistakes begin with treating the product as a quick cosmetic update. Skipping substrate preparation, ignoring moisture, rushing acclimation, failing to plan transitions, and trapping a floating floor can lead to movement, open joints, visible imperfections, or an unfinished appearance.
- Installing over a floor that is not flat enough for the selected product.
- Assuming a concrete slab is dry without following the required moisture-testing method.
- Starting installation before the room is conditioned and ready.
- Using a generic expansion gap instead of the manufacturer’s requirement.
- Creating repetitive end-joint lines by failing to plan the stagger.
- Leaving transitions until the last minute.
- Pinning a floating floor beneath cabinets, trim, or heavy permanent fixtures.
- Covering an active leak or dampness issue with new flooring.
- Using unapproved underlayment, adhesive, patch, or cleaning products.
- Skipping the final inspection of edges, joints, doors, and trim.
A written installation plan does not replace the manufacturer’s instructions or a qualified site assessment. It does create a shared checklist so the homeowner, installer, and other remodeling trades are working from the same expectations.
How Can LVP Fit Into a Larger Denver Metro Remodel?
LVP can be one part of a larger remodeling plan that also includes walls, cabinets, doors, trim, lighting, stairs, and room-to-room circulation. Coordinating those elements early helps prevent new flooring from being damaged by later work and helps the finished floor connect naturally with the home’s architecture.
For example, a kitchen remodel may require decisions about appliance clearances, cabinet sequencing, and the relationship between the kitchen and adjacent living areas. A bathroom update may require careful moisture detailing and threshold planning. A whole-level remodel may require a consistent floor direction, carefully selected transition points, and protection while other trades finish their work.
Faros Construction Services serves Denver Metro homeowners with construction and remodeling services that can be coordinated around a defined project scope. Reviewing the complete work plan before demolition helps identify dependencies and keeps flooring decisions connected to the rest of the remodel.
Request a project conversation with Faros for your Denver Metro home remodel.
Frequently Asked Questions About LVP Install Projects
These LVP Install questions address the planning issues homeowners should resolve before selecting materials or scheduling installation. Product-specific instructions and site conditions always control the final method.
Can LVP be installed directly over a subfloor?
It can be installed over a suitable subfloor when the substrate meets the product’s requirements for flatness, cleanliness, dryness, stability, and moisture. Some products also permit installation over an approved existing floor. Confirm the exact assembly with the product instructions before work begins.
How long should LVP acclimate before installation?
Acclimation time varies by product and manufacturer. Follow the written instructions for time, temperature, humidity, carton placement, and room conditions. Do not assume that one general time period applies to every luxury vinyl plank product.
Does a Denver Metro concrete slab need moisture testing?
A concrete slab should be evaluated using the test method required by the flooring manufacturer. A slab can look dry while still transmitting moisture vapor. If results fall outside the product requirements, resolve the condition before installing the flooring.
Do all LVP rooms need transition pieces?
No. The need for a transition depends on the floor plan, product system, room breaks, floor heights, movement requirements, and manufacturer guidance. A planned transition can protect edges and create a clean change between floor assemblies, while some connected spaces may use a continuous layout.
Should baseboards be installed before or after LVP?
Baseboards and other finish trim are commonly coordinated after the field flooring is installed, but the sequence depends on the remodel. The important detail is preserving the required perimeter clearance and fastening trim to the wall or approved surface rather than restricting a floating floor.
Is LVP suitable for every wet area?
Suitability depends on the specific product and the room detail. LVP may be used in many areas when installed according to the manufacturer’s moisture, edge, sealant, and maintenance requirements, but it should not cover an active leak or unresolved dampness.
Contact Faros Construction Services to plan the next step for your Denver Metro LVP Install.
Article by Ricardo Alfaro, Faros Construction Services.